At first I thought chillies were too specialised for my indoor garden. They seemed like the kind of plants that needed endless sunshine, tropical heat, and special care. But then I started noticing chilli plants on friends’ windowsills — small, cheerful pots bursting with red and orange fruit — and realised they were much more at home indoors than I’d ever expected.
It began, as most of my growing experiments do, with curiosity. I’d started adding more fresh herbs and homegrown greens to my cooking, and one evening while making a simple tomato pasta sauce, I wished I had a fresh chilli to chop in — something bright and fragrant instead of the dried flakes I’d been using for months. The next day I decided to try growing my own.
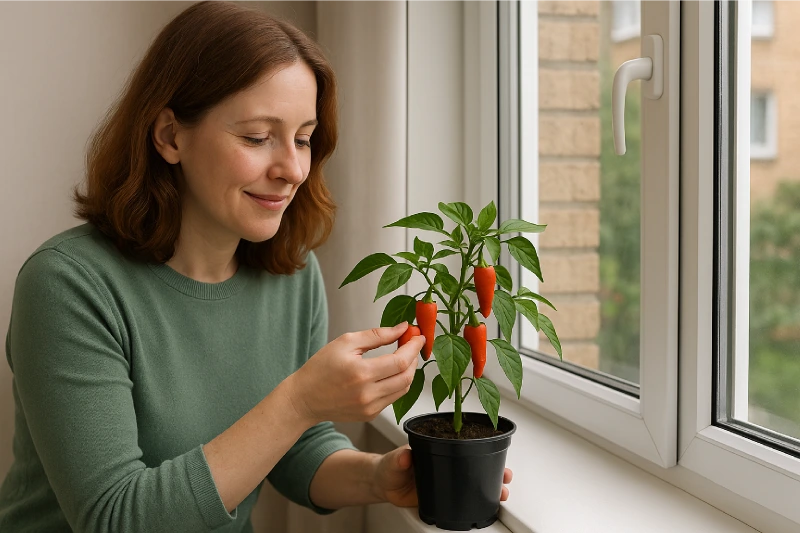
Four years into gardening, I’ve learned that the best way to start anything new is to keep it simple. Chillies are no different. They’re among the most rewarding plants you can grow on a windowsill: compact, colourful, and full of personality. And when you finally pick one, slice it open, and breathe in that sweet-sharp scent, it feels like holding sunlight in your hand.
Choosing How to Start
There are three main ways to begin your chilli journey: from seed, from young plants, or by saving seeds from fresh supermarket chillies. I’ve tried all three, and each has its charm.
Starting from seed is the most satisfying. You can find an enormous range of varieties online or at local garden centres — far more than you’ll ever see in shops. The seeds are tiny and quick to germinate if kept warm. The only catch is that chillies take their time to grow, so I usually sow mine in late winter or very early spring to give them a head start before the light improves.
If you’re impatient (and who isn’t in February?), buying young chilli plants is an easy shortcut. Garden centres often sell small potted varieties in spring, already well on their way. These are ideal if you want a quicker harvest without worrying about seed trays and heat mats.
And then there’s the no-cost method: saving seeds from supermarket chillies. It’s a gamble — you never quite know what variety you’ll get, and some supermarket chillies are hybrids that won’t grow true to type — but I’ve had good luck. I once grew a whole container of glossy, medium-hot red chillies from seeds I scooped out while cooking dinner. It’s worth a try, especially when you’re just learning.
The Best Chillies for Beginners
The first question most people ask me is: “Which chillies should I grow?” My answer is always the same — start with flavour, not fire. There’s no need to go near the super-hots like Carolina Reaper or Scotch Bonnet when you’re just beginning. The mild and medium varieties are far more forgiving and far more versatile in the kitchen.
I started with ‘Apache’, a compact chilli that stays small and tidy on a windowsill. It produces lots of bright red fruit with a warm but manageable heat — perfect for sauces and stir-fries. ‘Prairie Fire’ is another good one; it’s a little hotter but wonderfully decorative, covered in tiny multicoloured fruits that ripen from pale cream to orange to red.
If you prefer something milder still, try ‘Basket of Fire’ or ‘Lemon Drop’. Both are cheerful, bushy plants that grow well in pots and add a splash of colour to any kitchen. ‘Lemon Drop’ in particular has a lovely citrus scent that brightens up summer meals.
Whatever variety you choose, make sure it’s a dwarf or compact type. Larger chillies like cayenne or jalapeño can grow tall and need staking, which isn’t ideal for a small window. Compact types stay neat and are perfectly happy in a pot around fifteen to twenty centimetres wide.
Sowing and Germinating Chilli Seeds
Chillies love warmth. To germinate seeds successfully, you need steady temperatures around 20–25°C. I start mine in small pots or seed trays filled with moist, fine compost — about two-thirds peat-free compost to one-third perlite for good drainage.
I press each seed gently into the surface, cover with a fine layer of compost, and mist lightly with water. Then I cover the pots with a clear lid or cling film to hold in warmth and humidity. If your house is cool, place the tray near a radiator or on top of the fridge, where it’s slightly warmer.
Germination usually takes a week or two, depending on the variety. When the first green shoots appear, I uncover them and move them straight to the brightest window I have — mine faces east, which gives lovely morning light without too much heat.
Potting On and Early Care
Once the seedlings have a few true leaves, I move them into individual pots, taking care not to damage the delicate roots. I use small biodegradable pots to begin with, then move them up gradually to larger containers as they grow. Chillies like snug roots early on but need more space later to thrive.
I water sparingly at first — just enough to keep the compost damp. Too much water can cause root rot, especially when they’re young. It’s better to let the top of the compost dry slightly between waterings.
As the plants grow, I feed them every couple of weeks with a balanced liquid fertiliser, then switch to a tomato feed once the first flowers appear. Chillies and tomatoes are close cousins, and they enjoy the same nutrient mix once they’re setting fruit.
Light, Warmth, and Positioning
Light is everything when you’re growing chillies indoors. They need at least six hours of bright light each day to grow strong and fruit well. A sunny south- or east-facing window is ideal. If your light is limited, a small LED grow light on a timer will keep them happy through the darker months.
Chillies also prefer warmth, though they can tolerate cooler nights once they’re established. I aim for a steady daytime temperature around 20°C and try to avoid draughts. One of my first chilli plants sat on a cold windowsill one winter and dropped all its leaves overnight — a hard lesson in how sensitive they can be to sudden temperature changes.
Flowering and Pollination
After a few months, small white flowers begin to appear. It’s always a moment of celebration because it means fruit isn’t far behind. Indoors, though, there’s no wind or bees to move the pollen, so you’ll need to lend a hand.
I use a small paintbrush or simply tap the stems gently each day to shake the pollen loose. It takes just a few seconds, and it works wonderfully. Within a week or two, the flowers drop and tiny green chillies begin to form in their place.
Watering and Feeding for Healthy Growth
Once fruit begins to set, I increase watering slightly. The compost should stay moist but never soggy. I water from below whenever possible, letting the plant soak up what it needs from a saucer, which helps prevent fungus gnats and overwatering problems.
Feeding becomes more important at this stage. I use a tomato feed diluted to half strength every ten days. It encourages flowering and fruiting without overwhelming the roots. Too much fertiliser can make the plant grow leaves instead of chillies.
Harvesting and Ripening
The first fruits are usually ready within three to four months of sowing, depending on the variety and light. I harvest chillies gradually as they ripen, cutting them off with scissors to avoid damaging the plant. Most varieties start green and ripen to red, orange, or yellow.
If you prefer milder flavour, pick them while they’re still green; for full sweetness and heat, let them ripen fully on the plant. Indoors, they’ll continue to produce fruit for months if kept warm and fed regularly.
At the end of the season, when light fades, I sometimes cut back the plants and keep them overwintering on the windowsill. They rest quietly through winter and burst back into growth in spring — a small miracle every year.
A Word of Caution
It’s easy to forget how potent chillies can be when you’re growing them among herbs and lettuces. But even the milder varieties contain oils that can irritate skin and eyes. I learned that the hard way when I absentmindedly rubbed my eye after pruning my first chilli plant — a mistake I won’t repeat.
Always wash your hands thoroughly after handling chillies, and never touch your face until you do. If you’re cutting lots of fruit, it’s worth wearing gloves. The oils linger and can cause quite a sting, even after washing.
Using Homegrown Chillies
There’s something special about cooking with chillies you’ve grown yourself. I use mine fresh in pasta sauces, soups, and curries, or dry them on the windowsill for winter. The flavour is brighter and cleaner than anything shop-bought — a balance of sweetness and warmth that feels alive.
Sometimes I let a few chillies dry completely, then crumble them into flakes for seasoning. Others I freeze whole, ready to drop into stews or stir-fries. A single plant can produce dozens of fruits, enough to last months.
Final Thoughts
Growing chillies indoors has changed the way I think about space and flavour. It’s not just about heat — it’s about colour, fragrance, and the small daily joy of tending something lively and expressive. Watching the first flowers appear, the fruit swell and turn colour — it’s endlessly satisfying.
If you’ve ever been curious but hesitant, start with one small pot on your windowsill. Choose a mild variety, keep it warm and bright, and water it just enough. Within a few months, you’ll have your first crop — not just food, but confidence.
Because once you grow a chilli and taste the result, you realise how much life can fit inside a pot on a kitchen windowsill.